With grateful thanks to Vilene (soon to be re branded Vlieseline) we are pleased to make available their Book Cover project made using Decovil Light
Fabric Book Cover Project…
Click Here For The Book Cover Pattern![]()

STEP 1
Cut Decovil I Light and the outer fabric, allowing for a 1-cm seam. Iron Decovil I Light to the wrong side of the outer fabric (press on firmly step by step using a damp cloth, 6 sec., 2 dots) and let it cool down well.
.
 STEP 2
Lay the individual parts out with the rights sides facing. Sew them together. Iron the seam allowances down and allow them to cool down.
.
.
 STEP 3
Once they have cooled down, stitch the seam allowances on both sides close to the edge.
.
.
.
 STEP 4
Cut the inner fabric with a seam allowance. Lay the inner fabric and the outer fabric with the right sides facing and stitch all around, leaving an opening to turn the work inside out.
.
.
 STEP 5
Cut the seam allowances back to approx. 0.6 cm and cut off the corners close to the seam.
.
.
.
.
 STEP 6
Turn the book cover inside out through the opening, pull the corners out and iron the book cover. Then stitch all around close to the edge to close the opening.
.
.
 STEP 7
Iron Decovil I Light to the wrong side of a cut piece of outer fabric for the flap (press on firmly step by step using a damp cloth, 6 sec., 2 dots) and let it cool down well. Now lay the cut-out fused and non-fused pieces with the right sides facing.
.
 STEP 8
Sew them together all around, leaving an opening to turn the work inside out.
.
.
.
.
 STEP 9
Also cut the seam allowance back to approx. 0.6 cm and cut off the corners.
.
.
.
 STEP 10
Turn the flap inside out through the opening, carefully pull the corners out and iron the flap. Stitch the flap all around close to the edge to close the opening.
.
.
 STEP 11
Lay the flap in the middle of the top and bottom edges, in line with the red stripe on the back. Stitch 3 cm on both sides, starting from the red stripe, so that the end of the flap is not stitched down.
.
.
 STEP 12
Turn the sides in 5 cm and iron. Stitch again on the top and bottom edge.
.
.
.
 STEP 13
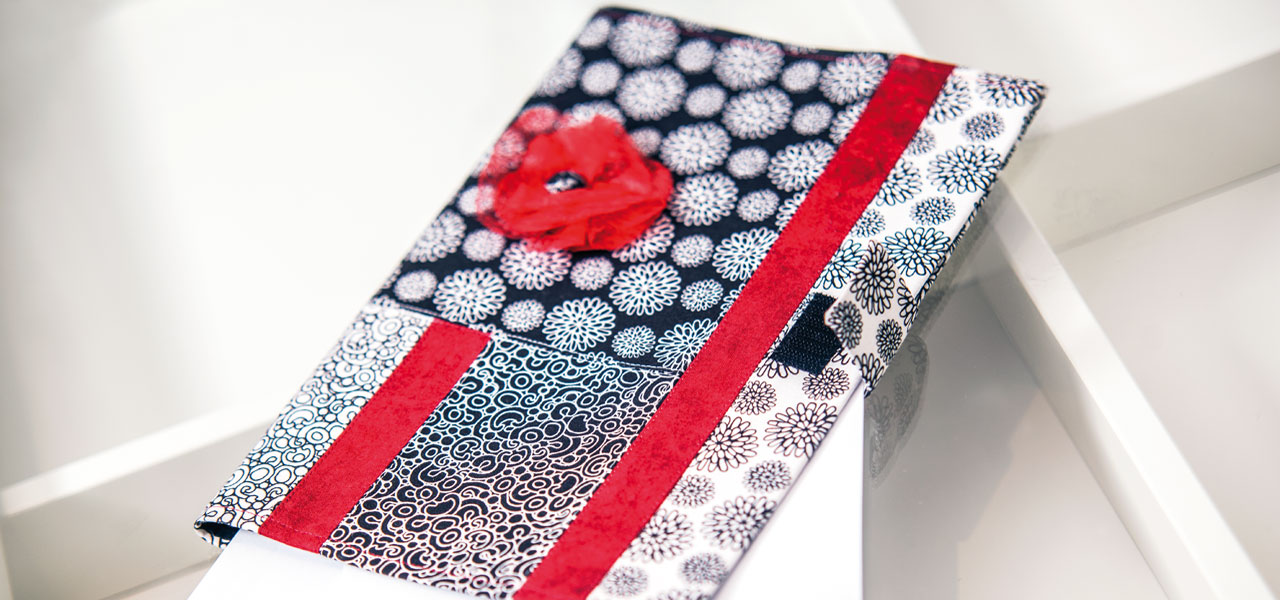
Attach a Hook & Loop fastener or a press stud to the flap and the front of the book cover. The book cover has now been completed and is ready to be decorated according to your personal taste, for example with an organza flower and a button with your own cover.
.
.
