Lite Steam-A-Seam 2 are heat activated pressure sensitive fusible webs. This makes the web sticky and repositionable for easy placement of your appliqué giving you the ability to play with your design before permanently ironing.
You’ll never make a mistake – the last step is to fuse when everything is perfectly in its place! Before fusing, tack your project to a wall or try on a garment to check appliqué placement; you’re able to re-position pieces while you’re wearing them.
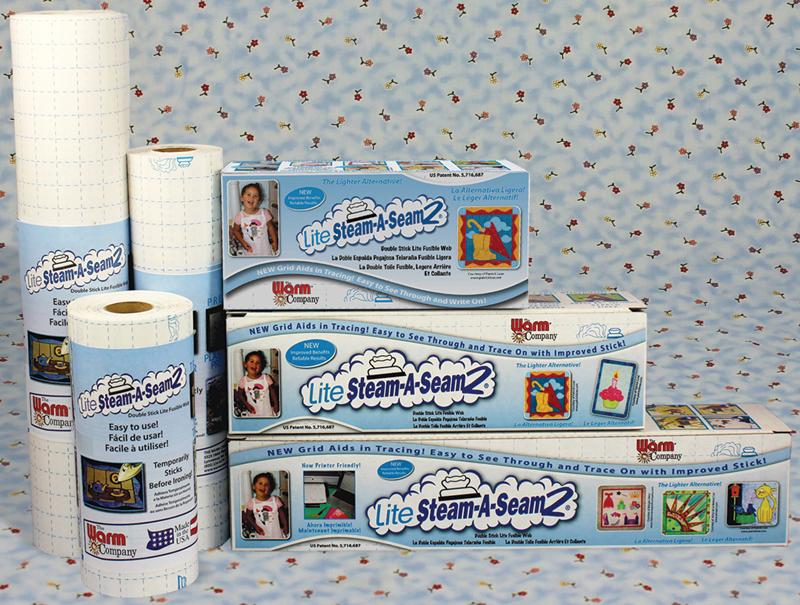
Available in 12″ Wide & 18″ Wide options.
5 Easy Steps for Appliqué
Steam iron or pre-wash to remove sizing and other treatments from fabrics for best performance. Always set your iron temperature for the type of fabric you will use. Sewing is not required to finish the edges but if desired, Steam-A-Seam 2 will not gum up your needle. The paper liner makes an ideal tear away stabilizer.

Step 1 – Trace or Print your design onto the grid paper. Before sending it through your ink-jet printer, cut the Steam-A-Seam 2 to size (8.5″ x 11″). Do not use with a laser printer.

Step 2 – Peel off the plain release paper and Stick your traced design onto the wrong side of your fabric.

Step 3 – Cut out your design along your traced lines.

Step 4 – Remove the grid paper to reveal the sticky fusible web, now attached to your fabric design. You may finger press and place onto your background fabric. This is a temporary stick and you may play with your design until you are happy with it.

Step 5 – Iron Press for 20+ seconds to activate the fusible web and create a permanent bond. If you would like do a finishing stitch, it’s recommended to use a steam iron and to iron press for 30+ seconds.

Very useful